
Replacing the rear bumper
Click on the images to enlarge
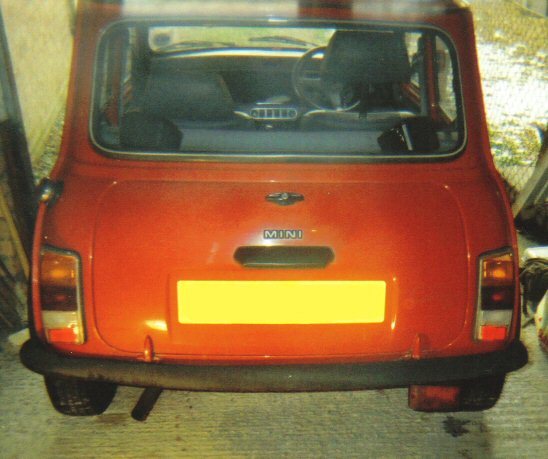
Driving around with a chrome bumper on the front and a black one on the back looked a little weird so come next weekend it was time to work on the rear of the Mini.
The bumper came off with little trouble, especially if you spray the bolts in WD40 the night before. The problem was that this car had a bit of a dent in the bumper from a previous accident which had bent the lip underneath that the bumper bolts on to. This had to be straightened out with some pliers.
The rear lip was pretty rusted so I scraped all the flakes of rust off of it with an old screwdriver and then filed down the lip with coarse wet and dry. I have rolls of this stuff lying about which I was given and I have a tendency to use it a lot. It's great for removing paint and flakey rust from metal.
I then treated any pitted surfaces with Jenolite and repeated after 15 minutes. A further 15 minutes later and I removed the excess liquid and let the solution dry.
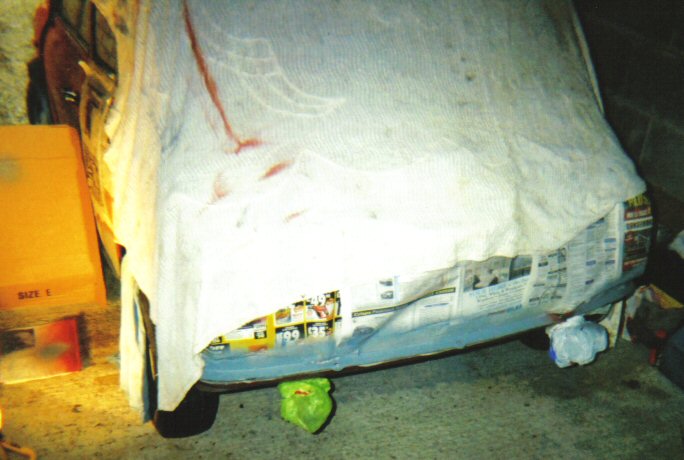
I then masked off the back of the car, the rear fog light and the exhaust pipe. I find that old blankets are great for masking large areas of a car and plastic bags are great for anything that is sticking out. As I sprayed near the wheels I use a hard backed magazine to cover things like tyres so I do not need to permanently mask them. The magazine is great in one hand with the spray can in the other as you work around the bodywork spraying and covering to prevent over-spray.
I treated the rear lip with about 4 coats of primer allowing a 15 minute drying time between each coat.

I then treated the underside of the rear bumper to some black hammerite as I did to the front and wheeled the car back into the garage to allow the primer and paint to dry over night. It was already snowing outside so I was glad that I had the use of a garage.
The next morning I smoothed down the primer but I did not do it to perfection because the metal would be hidden from view once the bumper was back on.
I sprayed the lip with the Rover Flame Red paint but not too much. I allowed a drying time of 15 minutes between coats of which there were about 7. I practiced my spraying technique as no one would see runs under a bumper anyway and I needed the practice. I smoothed out runs when dry and re-sprayed. I then let the final coat dry for a few hours.
I bolted the rear bumper back on with the nuts finger-tight. I then aligned it as I did the front and tightened it up. Finally I covered the nuts and bolts in copper slip (or copper grease as it is also known). This protects the bolts and nuts and makes it easier to remove them at a later date.
You may also have noticed if you looked at the above pictures closely that there are no blue 'City' decals on the car any more. I borrowed a heat gun and heated up the decals and then pealed them off. I then cleaned up the gunk left behind with T-Cut and elbow grease. With the front grill replaced there is no longer anything on this car that says it is a Mini City. Only a Mini enthusiast would spot the pointers such as lack of a rev counter to indicate the original model of the car. A rev counter is on my to-do list.
Did you enjoy this article or find the information useful? Help keep Dave and his articles online by keeping him fed with coffee by clicking the link below. Cheers!

Next page - Treating the wheel arches and waterproofing the doors
Previous page - Front bodywork and bumper
Back to the Mini Project Main Menu

This website uses cookies. Click here to learn more about how and why we use cookies.