
Replacing the FAM7821 Brake Limiter Valve
Click on the images to enlarge
For the last few months I've noticed the brake fluid level in my brake fluid reservoir dropping by a centimetre each month. While not a huge amount it's still a loss and it has been annoying the hell out of me trying to locate the source of the leak. Well I got lucky one day when after a short drive I spotted brake fluid dripping off the front right calliper. Thinking that it was a faulty cylinder or leaking bleed nipple, I removed the road wheel only to discover that the drips started higher up and were coming off of the subframe tower.

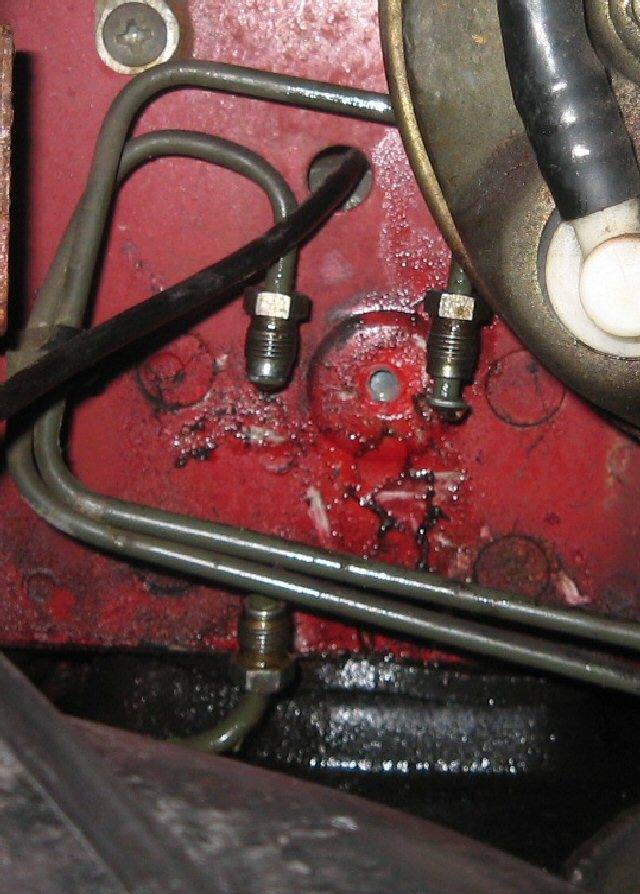
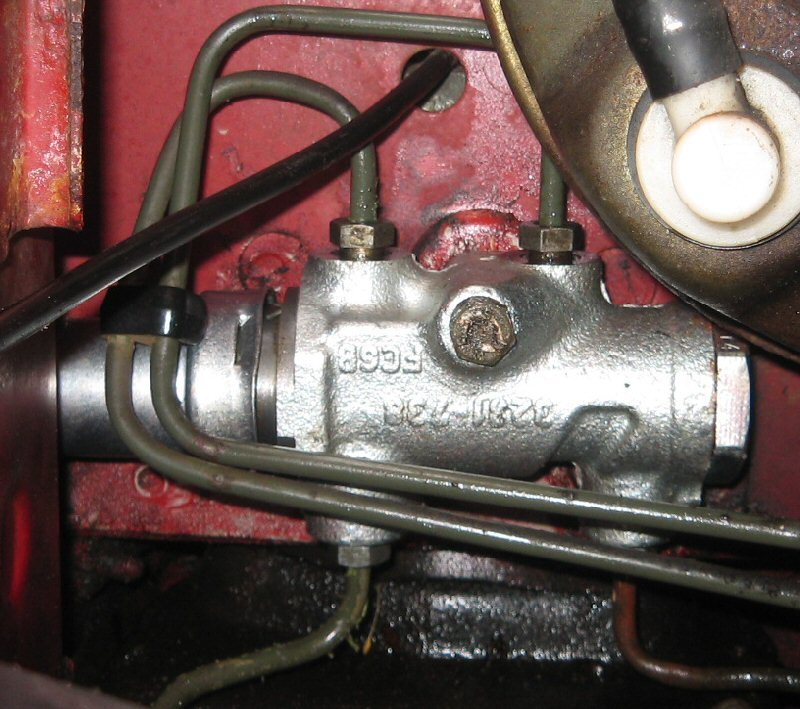
I popped the bonnet and removed the windscreen washer bottle and located the source of the leak, it was a metal component attached to the car body underneath the brake servo. It had four brake pipes going into it, two at the top and two at the bottom. The leak was coming from the left hand side as you look at it.
According to the Haynes manual it's a pressure reducing valve. According to on-line sources it's called a brake limiter valve. It's also known by its part number, FAM7821.
Whatever it's called it's leaking and needs replacing.
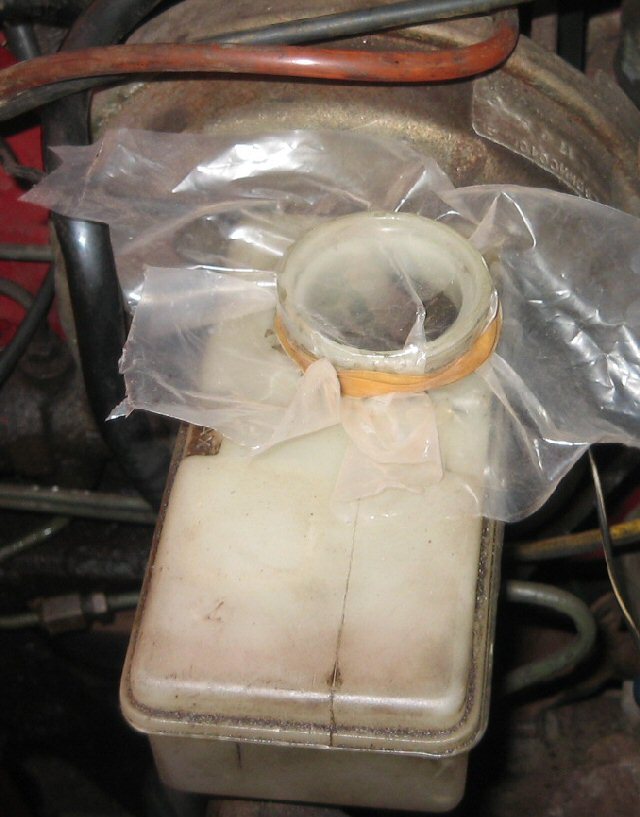
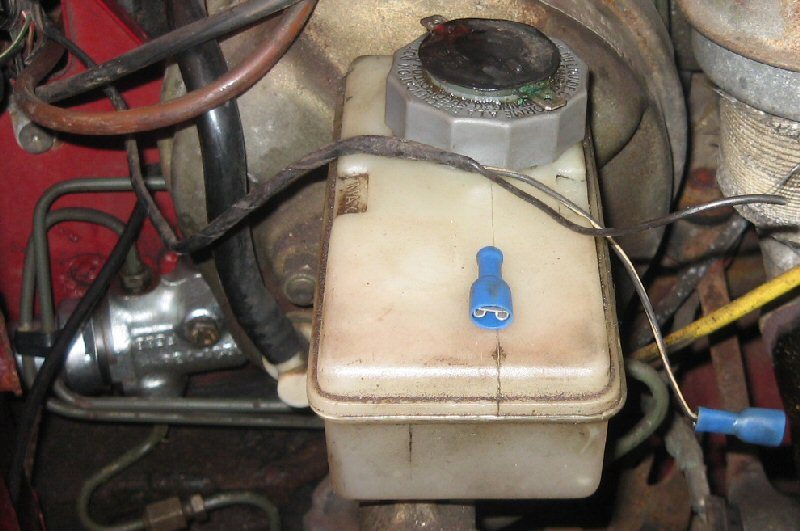
Before I disconnect the old unit I removed the cap from the brake fluid reservoir. When I did this one of the spade connectors came off one of the wires that attach to the cap. There's always something else breaking as soon as you attempt to fix something on a Mini. Luckily I have some spare spade connectors as the old one fell out of sight.
I topped up the brake fluid reservoir and then I cut a piece of heavy duty plastic, left over from waterproofing the Mini doors, and used it to cover the top of the reservoir securing it in place with an elastic band. This should hopefully stop too much air getting into the system.

Working slowly with an open-ended spanner I removed each of the four pipes attached to the FAM7821 unit. It took ages as you are really restricted on movement under the brake servo and the reservoir. I removed the top two pipes first and then the bottom two. I placed an old baking tray under the car as brake fluid started leaking out. I then unscrewed the bolt holding the FAM7821 unit to the bulkhead. I'm using proper mechanics gloves these days as I'm tired of spending ages cleaning my hands and nails after working on the car. These feel great and don't restrict movement.

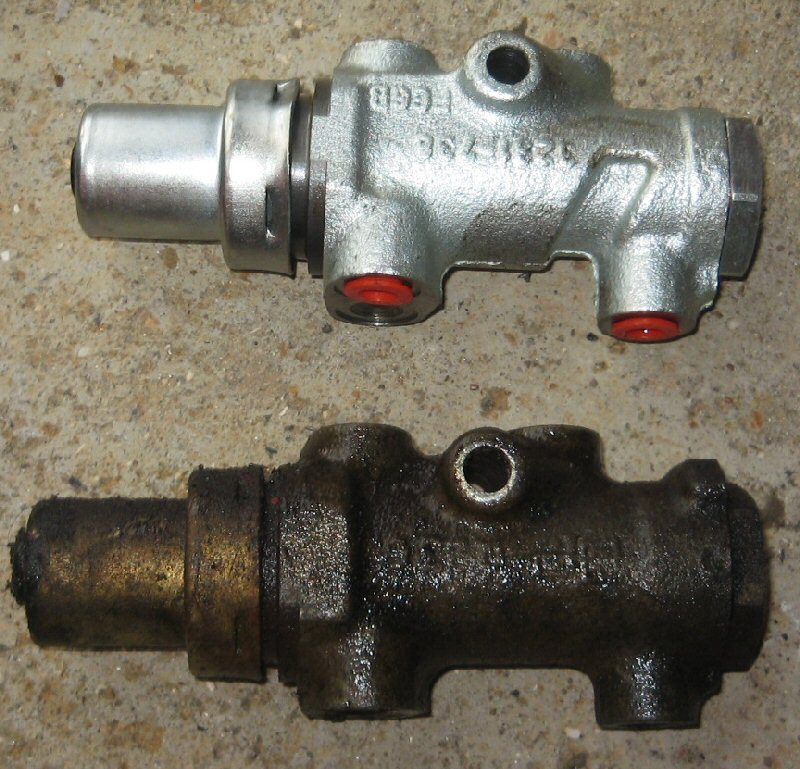
Fitting the new unit proved to be a slight pain in the proverbial. The majority of the four pipes were steel and rigid and didn't want to move so I had to attach the bottom two pipes first, finger-tight, without using the bolt to secure the FAM7821 unit to the bulkhead. This way I could angle the unit and get the pipes in easily without having to fit them underneath a non-moving FAM7821.
Once I had all four pipes fitted I fixed the FAM7821 to the bulkhead and tightened it up with a socket spanner. I then tightened all four pipe unions up with an open-ended spanner.
The next step is to bleed the brakes. Oh what fun that turned out to be. Not.
I started with the wheel furthest away from the brake fluid reservoir, in this case the rear left wheel. However, no matter how hard I tried the bleed nipple would not budge. In fact it rounded off and became mushy metal, argh!
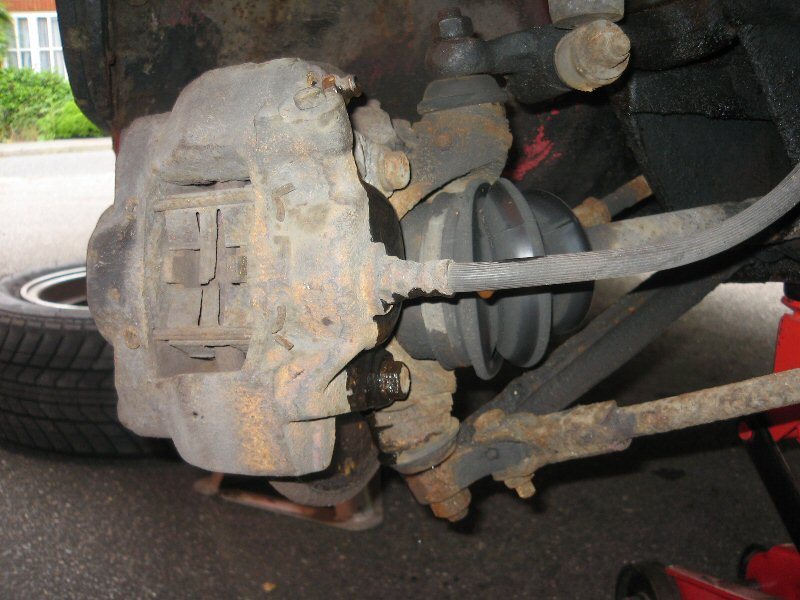
I jacked the car up and removed the road wheel and tried mole grips and everything else I could think of including heat and WD40 with no luck. To make matters worse, or my nerves anyway, I noticed that the hi-los had rusted up, so had the rear subframe and brake pipe unions. Minis!
After consulting both my father and father-in-law, the advice was to remove the brake cylinder along with the pipe that goes to the connection on the radius arm and replace the lot. Easier said than done.

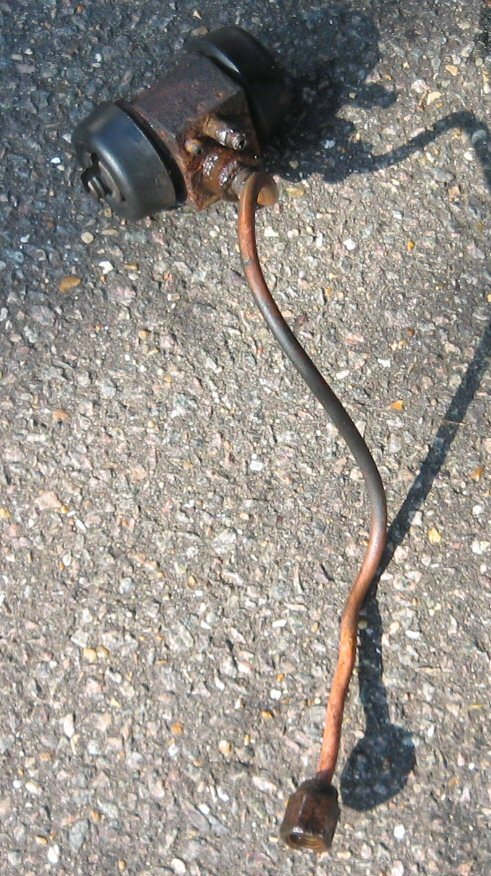

I got the wheel hub cover off and removed the brake shoes and springs, carefully remembering how they came out so they go back in the same way. I used an elastic band to stop the brake adjuster shoes falling out and set to work on removing the brake cylinder.
I disconnected the brake pipe union from the radius arm and stopped the leak with one of the orange caps you get with the FAM7821. I then tried removing the brake cylinder but it wasn't having it until a hammer came into play. Luckily it will come away from the backplate with the pipe, union and bleed nipple attached.
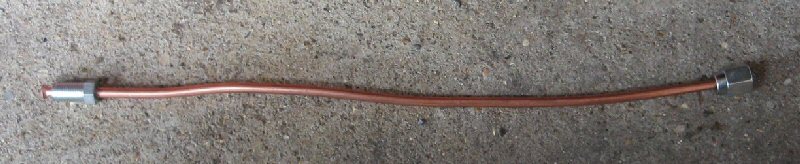
A local parts dealer sold me two new cylinders much cheaper than on-line prices, and genuine parts too. I bought two as I figured it's worth keeping a spare around as you never know. However they didn't have any UNF brake pipe unions so I'd have to return tomorrow to have a new pipe made up, which I did.
With all the bits I needed at hand I proceeded to reassemble the brakes.

At this point I'd like to personally apologise to any little kids walking home from school who may have heard my curses as I tried to get that little clip onto the the back of the brake cylinder. Oh what fun they are to get on. Just remember that the curve goes outwards so it pushes the back of the cylinder away from the backplate. Removing them to turn them the other way around can be just as much fun as putting them on.
With the cylinder in place I attached the new piece of copper brake pipe and tightened both ends. Then I put the brake shoes and springs back in the hub making sure that the area was clean of any spilled brake fluid. I then replaced the drum housing and screw.

With the help of my lovely wife I proceeded to bleed the brake system of any air. I had to replace the rear right bleed nipple as it too was shot, but luckily it came out and I had a spare which I removed from one of the rear wheel hubs I'd taken off an old Mini that was scrapped by a mate.
With both back wheels done I moved to the front where I had fun with two larger bleed nipples that were well and truly stuck. I had to remove the front right wheel to get some force behind the socket bar in order to move the bleed nipple just slightly! Boy did it make a nasty metal-on-metal squeal when it finally budged.
With all four wheels bled I topped up the brake fluid reservoir, fitted a new spade connector to the wire that had lost it's connector, and took the car around the corner for an off-road drive.
After quite a bit of brake ing I checked the fluid reservoir one last time, checked all four brake nipples for leaks, cleaned the alloys and tyres of any spilled DOT4, and packed up. Another job done! I'll keep an eye on the brake fluid level for a while just to make sure every thing's fine, but now it's time to move on with the other jobs on my to do list.
Did you enjoy this article or find the information useful? Help keep Dave and his articles online by keeping him fed with coffee by clicking the link below. Cheers!

Next page - Vacuum advance distributor pipe repair
Previous page - Car door window frame repair
Back to the Mini Project Main Menu

This website uses cookies. Click here to learn more about how and why we use cookies.